

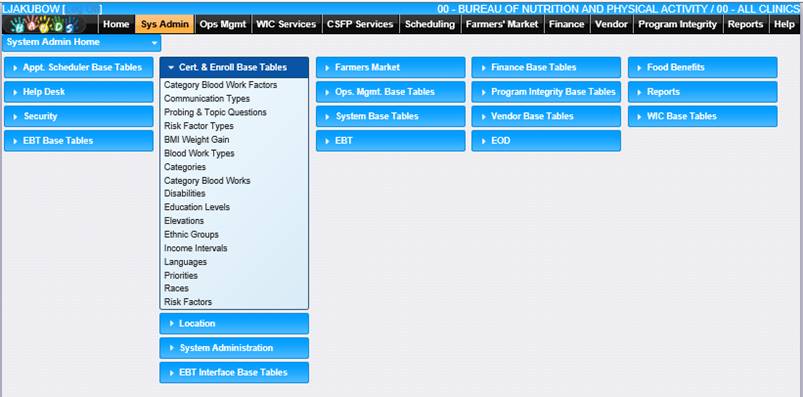
The Cert. and Enroll Base Tables section is where the user can manage Bloodwork Types, BMI Data, BMI Weight Gain, Categories, Category Blood works, Category Blood-work Factors, Communication Types, Disabilities, Education Levels, Elevations, Ethnic Groups, Income Intervals, Languages, Priorities, Races, Risk Factors, Risk Factor Types, and Probing & Topic Questions. Most base tables have the same procedure for adding, editing and deleting. This section will have one example of each function with the exception of a few Special Base tables which are outlined individually below.
Access the appropriate page from the System Admin home page by clicking on the link in the Cert. & Enroll Base Tables.
Add a Record
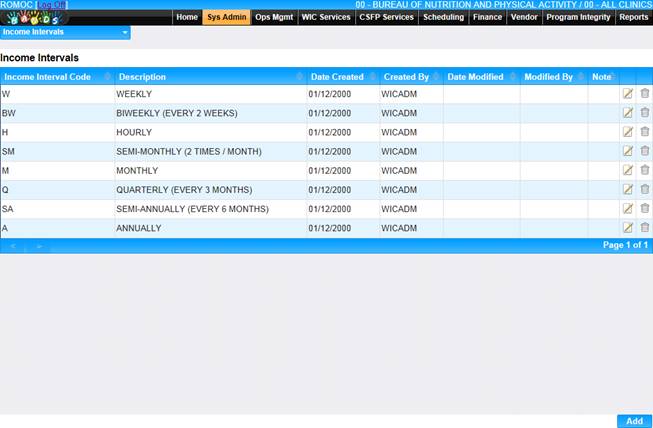
1. Select a link from the Cert. & Enroll Base Tables section. The page displays.
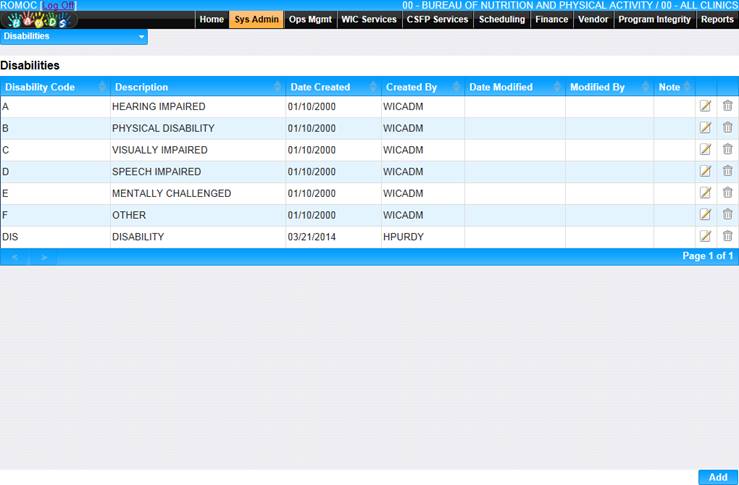
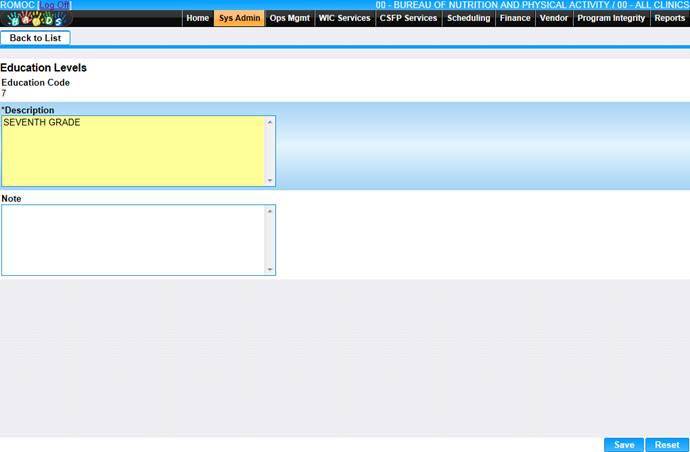
2. Click the Add button at the bottom of the page. The Add page displays.
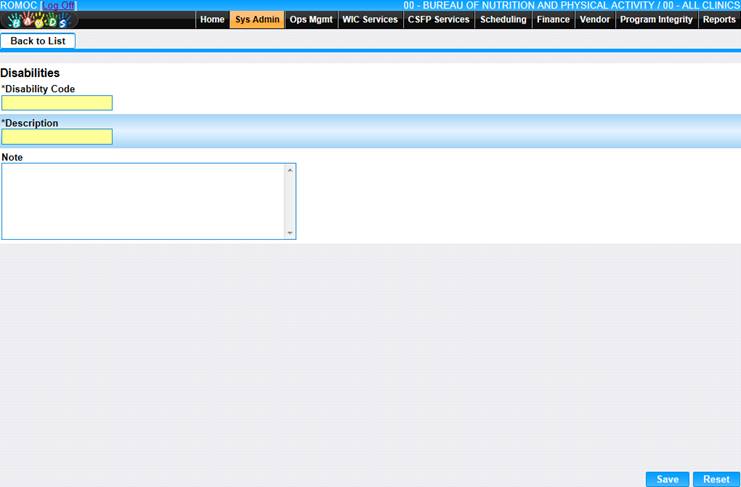
3. Enter all required information and any additional information to complete the page.
4. To discard information and start over, click the Reset button at the bottom of the page.
5. To save information, click the Save button at the bottom of the page.
6. To return to the main Disabilities page, click Back to List.
Edit a Record
1. Select a link from the Cert. & Enroll Base Tables section. The page displays.
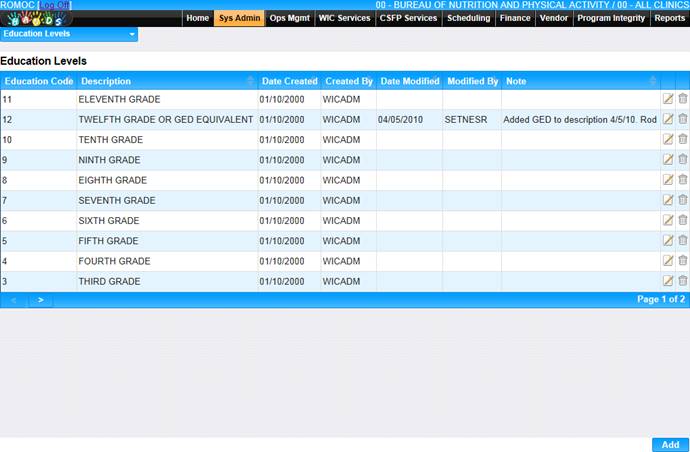
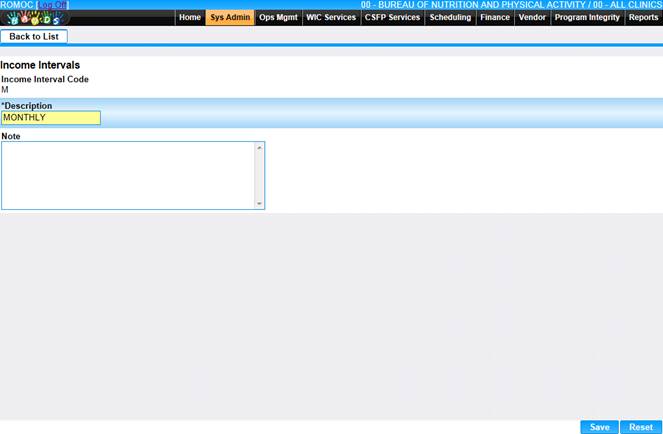
2. Click the edit icon for the record you would like to view/edit. The Edit page displays.
3. Make changes to the appropriate fields.
4. To discard changes, click the Reset button at the bottom of the page.
5. To keep changes, click the Save button at the bottom of the page.
6. To return to the main Education Levels page, click Back to List.
Delete a Record
1. Select a link from the Cert. & Enroll Base Tables section. The page displays.
2. Click the delete icon for the record you would like to delete. The Delete page displays.
3. To cancel the delete process, click the Cancel button at the bottom of the page.
4. To delete the record, click the Delete button at the bottom of the page.