

From the home page in HANDS click on Ops Mgmt on the main menu bar. Click on the navigation drop-down list to view the different pages within Ops Management.
Organization Units Search
1. From the drop-down navigation list select Organization Units. The Organizational Units search page displays.
2. Enter the search criteria and click the Search button at the bottom of the page. The page will display the search results.
3. To perform a new search, click the New Search button at the bottom of the page. The entered search criteria will be cleared, and the user can enter new search criteria.

View/Edit an Existing Organization
1. Enter the search criteria for the organization you want to edit. Click the Search button at the bottom of the page.
2. Select the organization by clicking on the name field in the search results. The Organizational Unit page displays with the organization information.

3. Add/edit the information on the page.
4. To save changes, click the Save button at the bottom of the page.
5. To clear all entered values and begin again, click the Reset button at the bottom of the page.
6. To return to the main Organization Unites page, click the Back to List.
Add an Organizational Unit
1. From the drop-down navigation list select Organizational Units. The Organizational Units search page displays.
2. Click the Add button at the bottom of the page. The blank Organizational Unit page displayed.
3. Enter all required fields and any other fields to complete the adding of the organizational unit. The phone numbers for the entered staff member are populated based on phone numbers entered for the staff member on the User Admin page.
4. The Organizational Size field options are based off of how many FI's an organizational unit prints per month.
• Small = 4,000 FI's in a month
• Medium = 12,000 FI's in a month
• Large = 24,000 FI's in a month
5. If the organization is active, select the Active checkbox.
6. If the appointment is to display in the Participant Portal, select the Virtual Clinic check box.
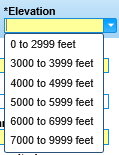
7. Select the elevation level for the organization unit from the drop-down menu.
8. To add an Organization Unit Phone, click the Add button within the Organizational Unit Phones section. The add window displays.
9. Select the Phone Type, enter the Phone number and select the Priority.
10. To keep changes, Click the Ok button at the bottom of the add window.
11. To discard unsaved changes and close the widow, click the Cancel button.

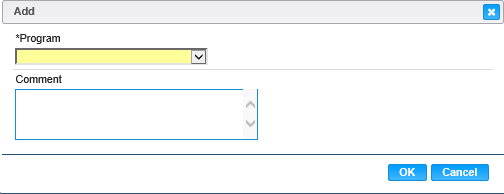
12. To add a Program and Outreach Organization, click the Add button within the Program and Outreach Organizations section. The add window displays.
13. Select the Program from the drop-down menu.
14. Enter Comment.
15. To keep changes, Click the Ok button at the bottom of the add window.
16. To discard unsaved changes and close the window, click the Cancel button.
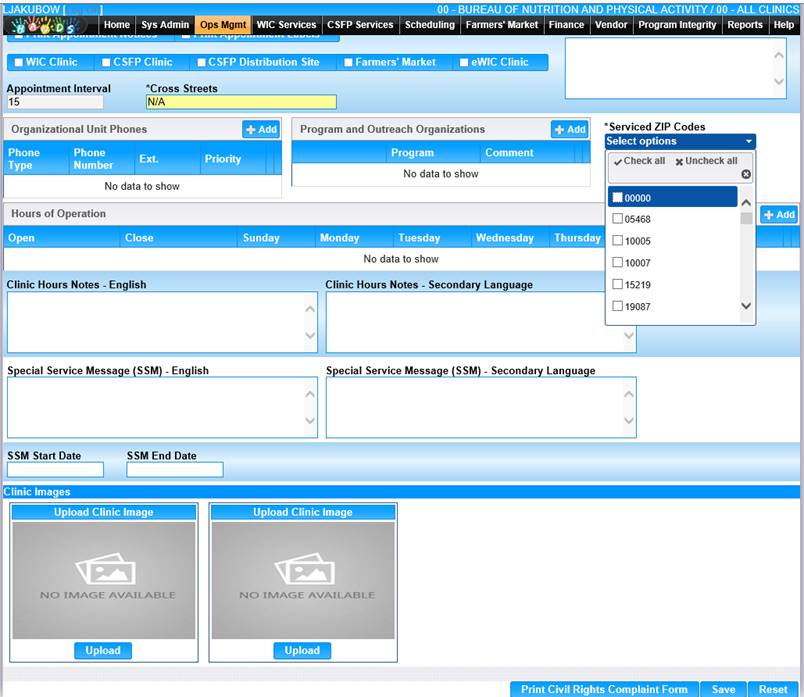
17. The Serviced ZIP Codes field is required to save a new Organization. Click on the drop-down list to select which zip codes this organization will serve.
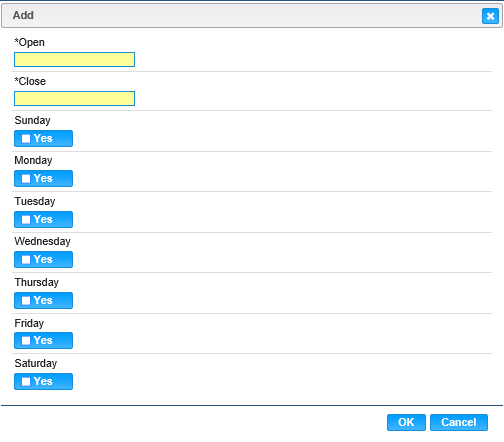
18. To add Hours of Operation, click the Add button within the Hours of Operation section. The add window displays.
19. Enter all required fields and select applicable days.
20. To keep changes, Click the Ok button at the bottom of the add window.
21. To discard unsaved changes and close the window, click the Cancel button.
22. Enter applicable Clinic Hours Notes and Special Service Message.
23. Enter SSM Start Date and SSM End Date.
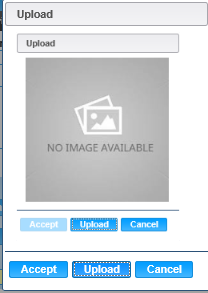
24. To add a Clinic Image, click the Upload button within the Clinic Images section, Upload Clinic Image box.
25. Click the Upload button to search for the image and upload.
26. To discard unsaved images, click the Cancel button at the bottom of the Upload window.

27. Upon Uploading an image, the Accept button will become active. To approve the image, click the Accept button.
28. To clear all entered values and begin again, click the Reset button at the bottom of the page.
29. To keep the information, click the Save button at the bottom of the page.
30. To Print Form, click Print Civil Rights Complaint Form button at the bottom of the page.
31. To return to the main Organization Units page, click the Back to List.
