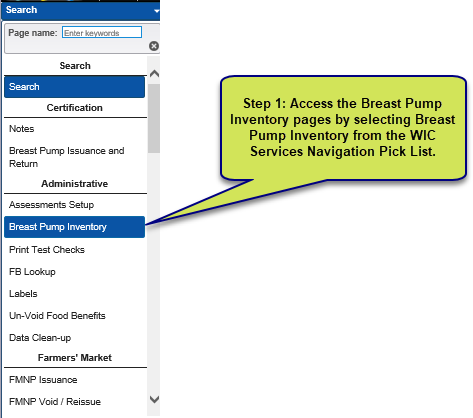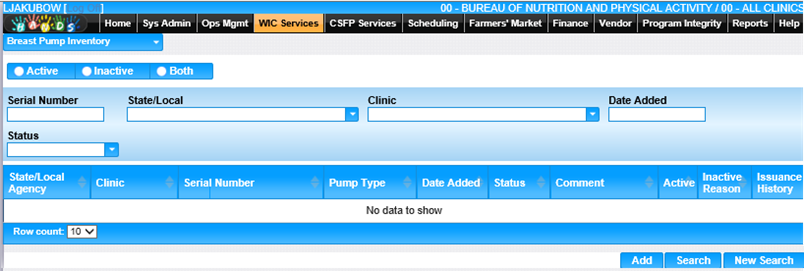

The Breast Pump Inventory page is used to manage the breast pump inventory including searching for breast pumps, logging pumps into inventory, assigning pumps to local agencies, updating the pump status, view pump issuance history or make a pump active/inactive.

1. Select Breast Pump Inventory from the WIC Services navigation drop-down list. The Breast Pump Inventory search page displays.

2. To search for a pump in inventory, enter the search criteria and click the Search button.
3. To clear the entered search criteria and begin a new search, click the New Search button at the bottom of the page.

1. Select a pump by clicking on the Serial Number.
2. The pump information is displayed.

3. This is where you can make the pump Active/Inactive, update the status or assign the pump to a particular clinic.
4. Make changes if needed.
5. To discard unsaved changes, click the Reset button.
6. To keep changes, click the Save button.
7. To return to the Search Results, click Back to List.
Adding a Breast Pump to the Inventory
1. On the Breast Pump Inventory page, click the Add button.

2. On the Breast Pump Information Page, complete all required fields including:
• Click Active Check Box to indicate the pump is active.
• Click PUP Check Box to indicate the pump is a personal use pump.
• Add pump Serial Number.
• Choose State/Local Agency.
• Choose Clinic.
• Enter date added.
• Choose pump type.
• Choose pump status.
• Enter a comment if desired.

3. To discard information and start over, click the Reset button at the bottom of the page.
4. To save information, click the Save button at the bottom of the page.
5. Once saved, the pump can now be searched for in the inventory.

To View the Issuance History for a Pump
1. From the Breast Pump Inventory search results, click on the purple icon in the Issuance History column for a particular pump.

2. The pump history page will display.

3. To return to the Breast Pump Inventory page, click Back to List.